Integration Runtime Setup
Prerequisites
Create two VMs for the integration runtime
An integration runtime is necessary to connect our data factory pipelines to any of your on prem data sources. This is a program provided by Microsoft that needs to run on at least 2 VMs in order to enable auto updates.
The specs required for the two VMs
-
They must be in the same network as or can access any on-prem data sources.
-
RAM: 16-32 GiB
-
4+ Cores
-
Gigabit networking
-
100 GB of free space
-
Compatible OS
- Windows 8.1
- Windows 10
- Windows 11
- Windows Server 2012
- Windows Server 2012 R2
- Windows Server 2016
- Windows Server 2019
- Windows Server 2022
Integration Runtime Setup Steps
Installing the JDK version 16 on your VMs
-
First RDP into each VM.
-
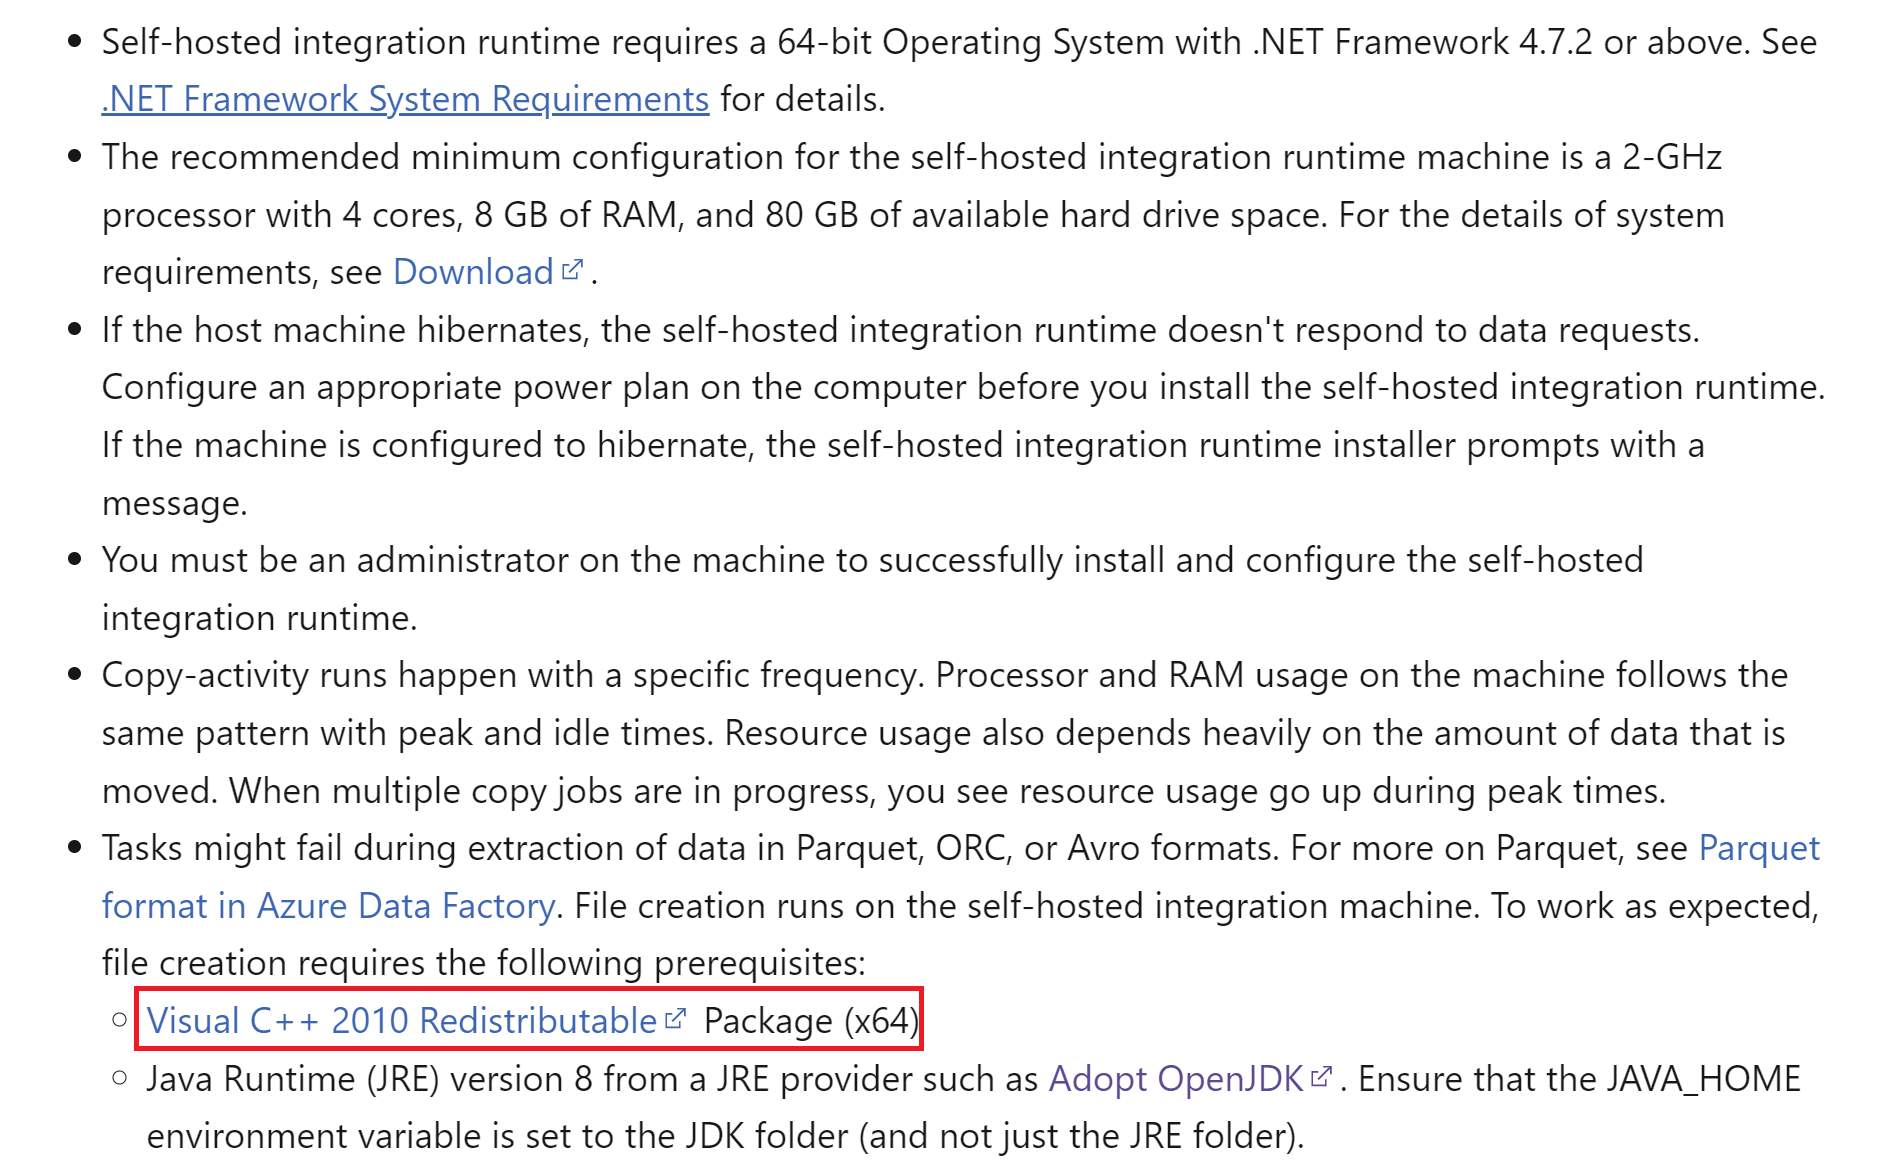
Install the C++ redistributable detailed in Microsoft’s integration runtime documentation. documentation
-
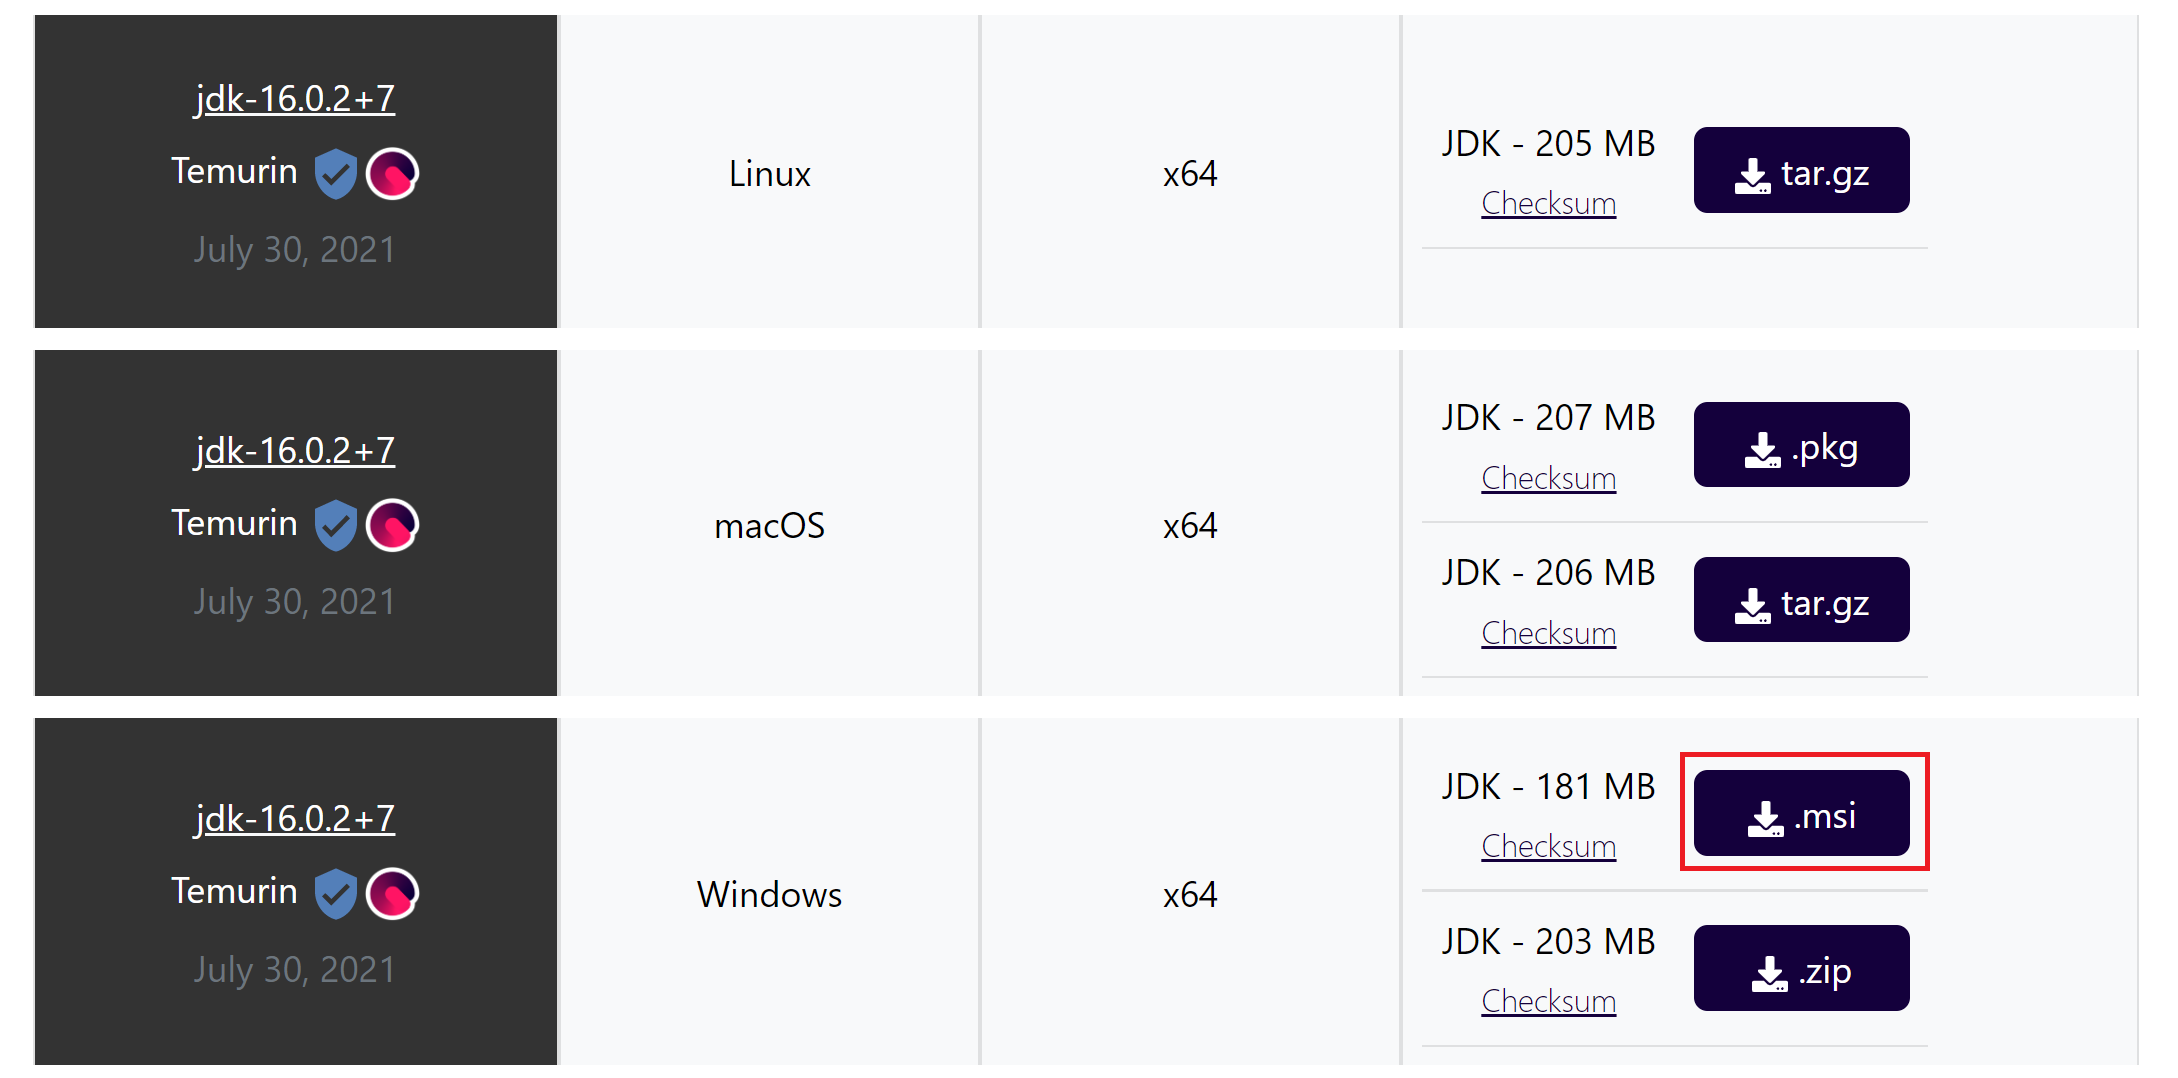
Install open JDK version 16 from the following link on each VM. JDK download Download the latest msi for windows on both VMs.
-
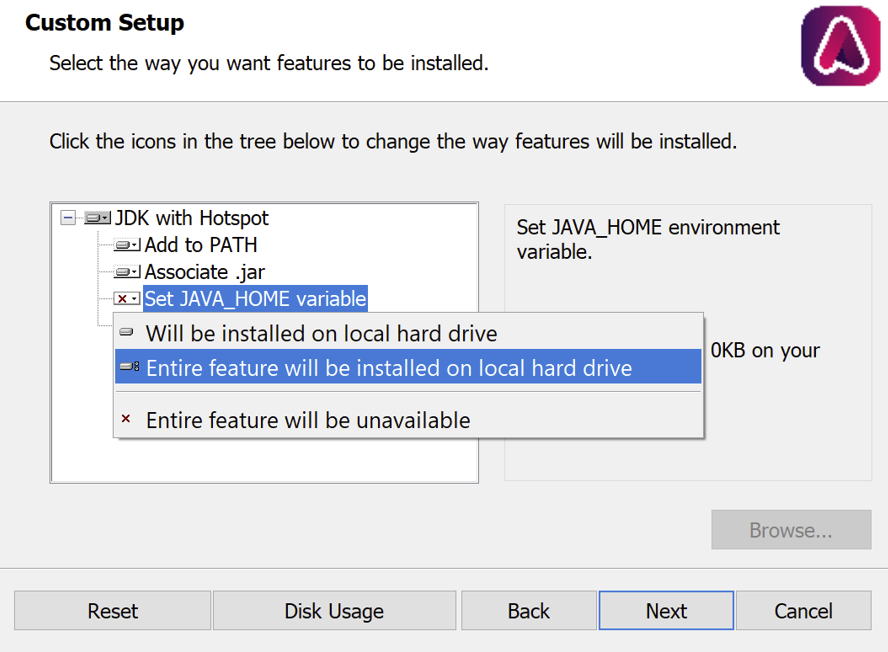
Run the downloaded installer on each virtual machine. Proceed through the installer and stop when you reach the Custom Setup screen. Click the small red x next to “Set JAVA_HOME variable” to open the following drop down and select “Entire feature will be installed on local hard drive”.
-
Complete the install wizard keeping all other values set to default.
-
Repeat for the second VM.
Installation of the Integration Runtime
- Navigate to the following link and install the integration runtime. Download the latest version on the VM. IR download
- Run the installer on each VM. There are no values that need to be changed here. Then repeat for the second VM
Connect the Integration runtime to your data factory
- Navigate in the azure portal to the your prod resource group and enter the data factory that contains the string “irhost” in the name.
- Launch the datafactory workspace.
- Click on the manage tab on the far left side and navigate to the integration runtimes tab.
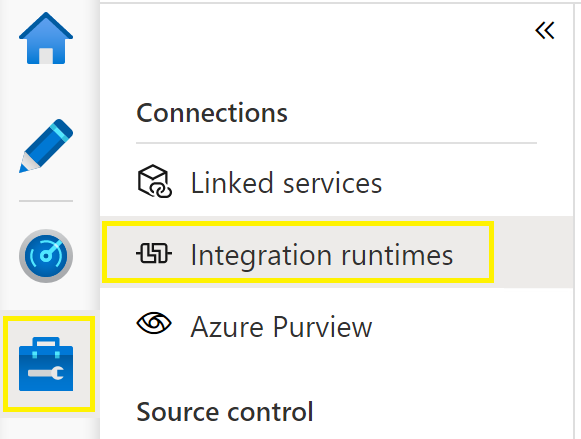
- Click on the IR named Emp-OnPrem-IR.
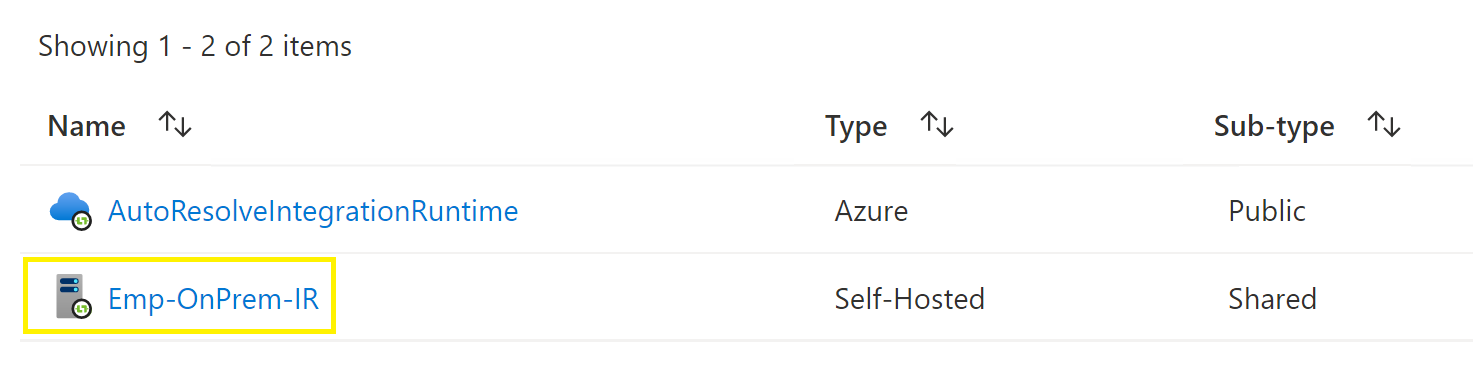
- Grab one of the keys in the panel under manual setup.
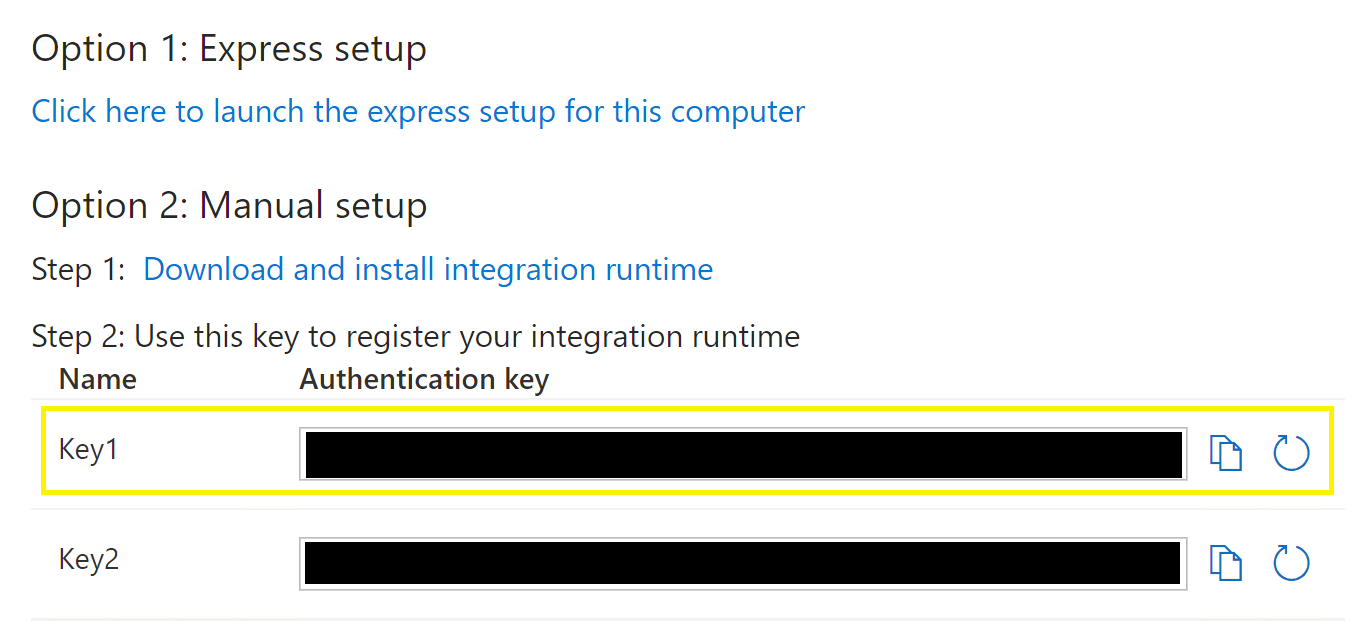
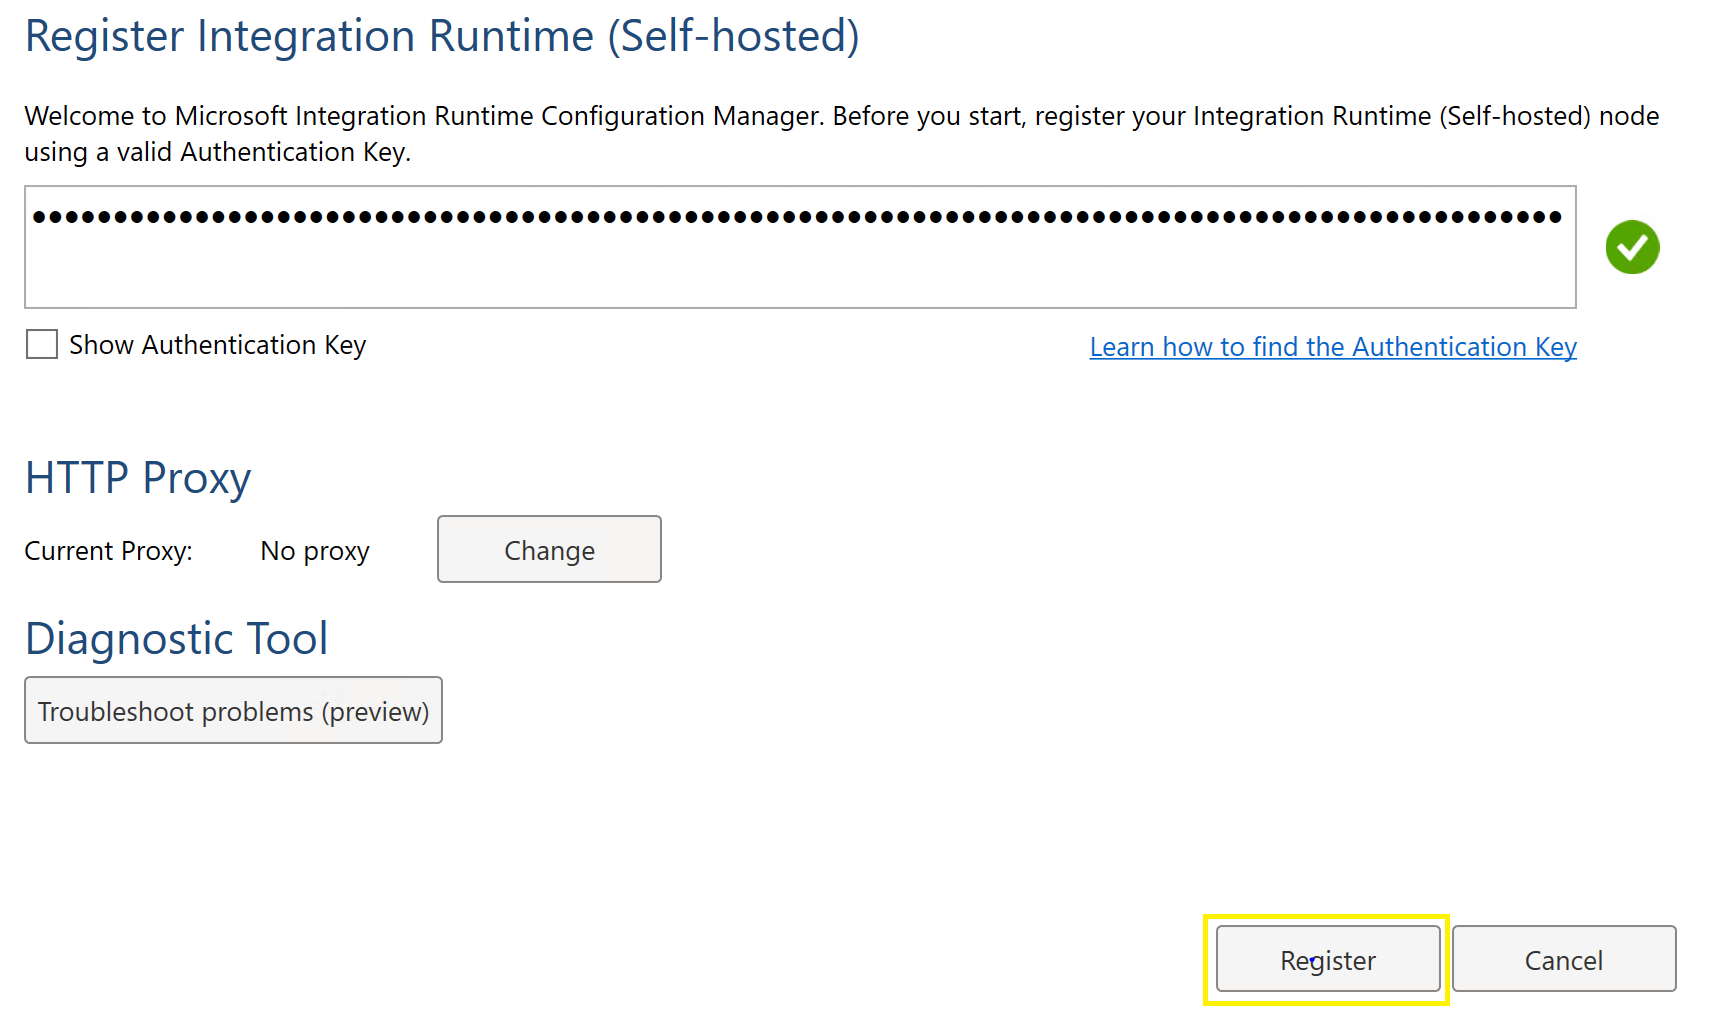
- Paste it into the integration runtime inside your VM and hit register
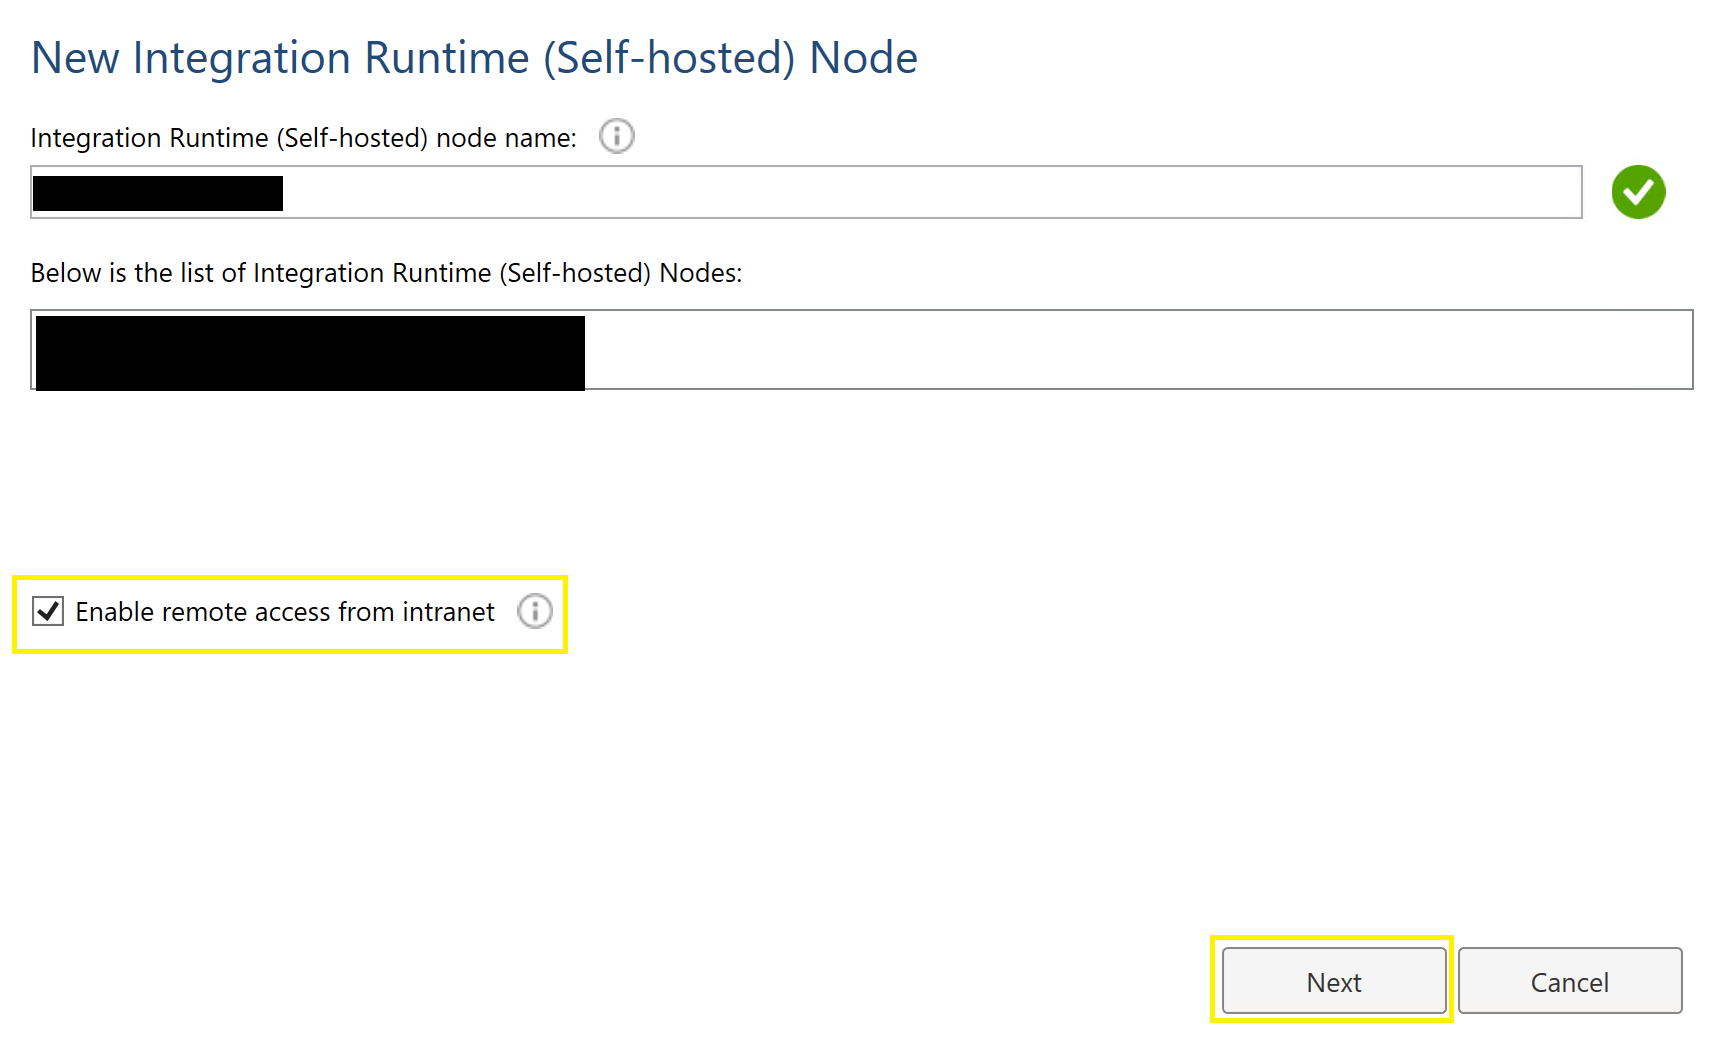
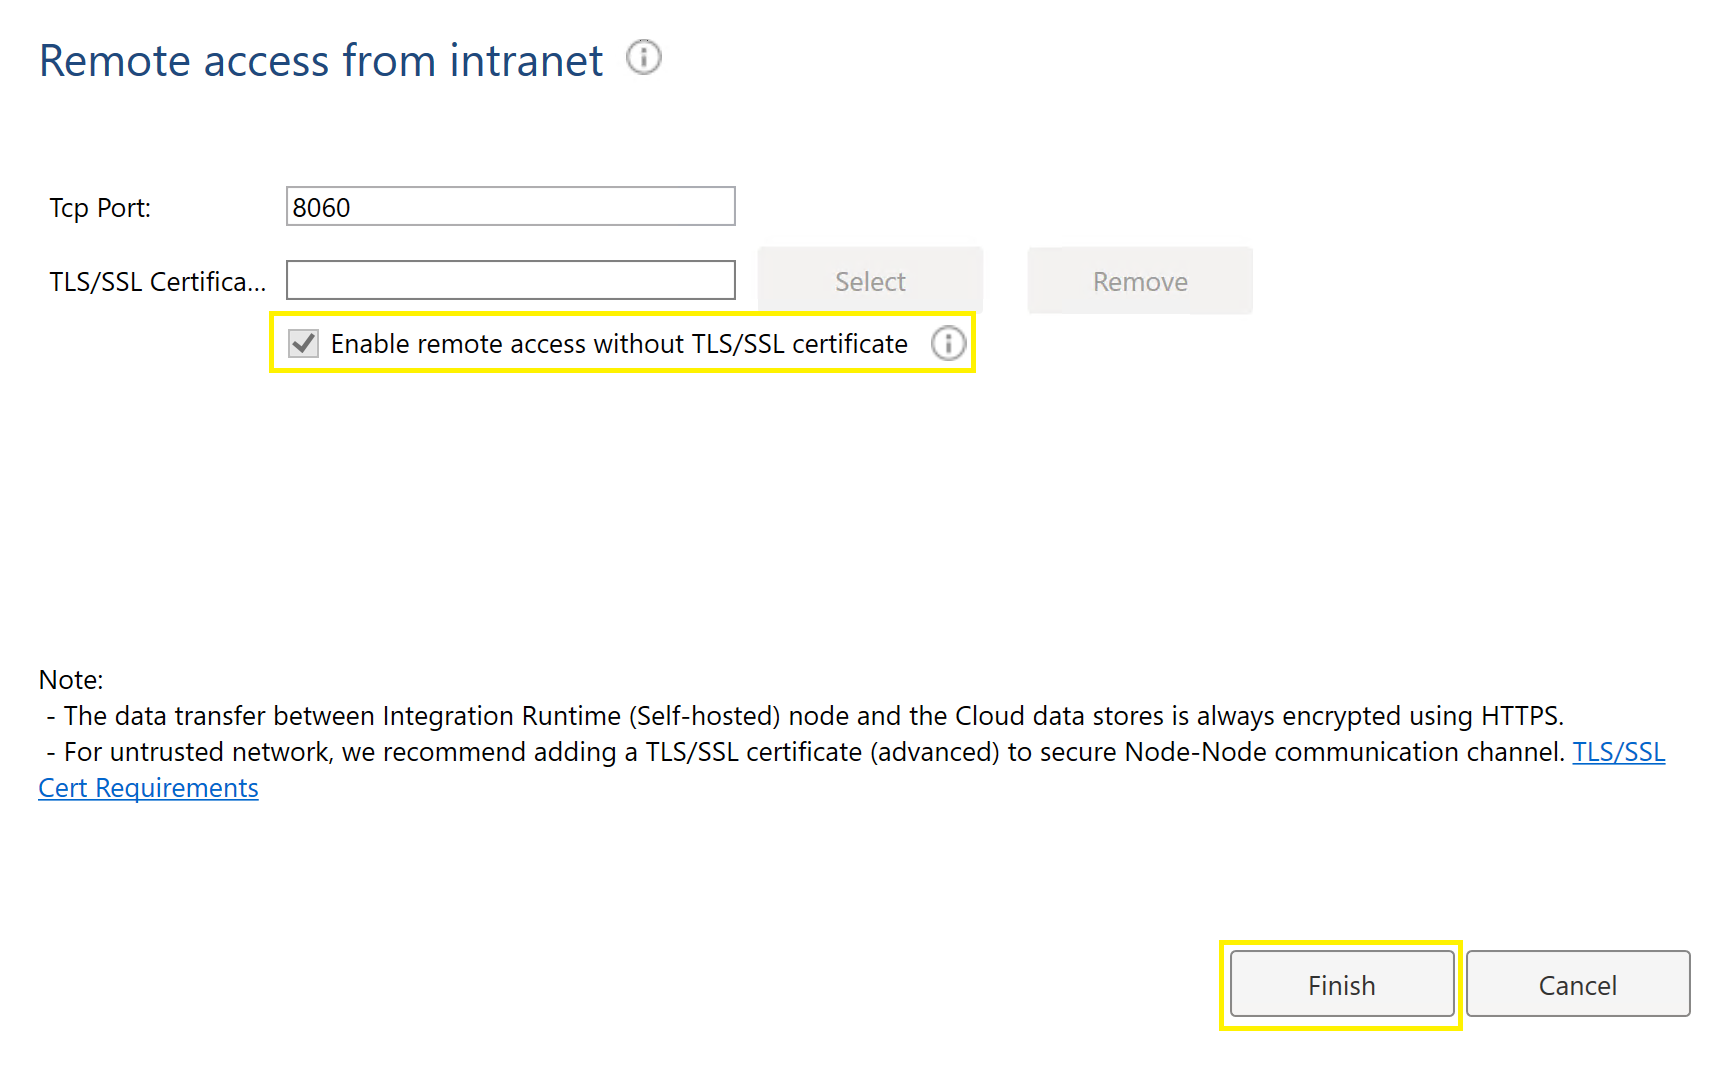
- After the key is registered, check enable remote access from intranet and hit next
- Ensure enable remote access without tls/ssl is checked and hit finish.
- Repeat for the second VM
Empower ODBC driver installation
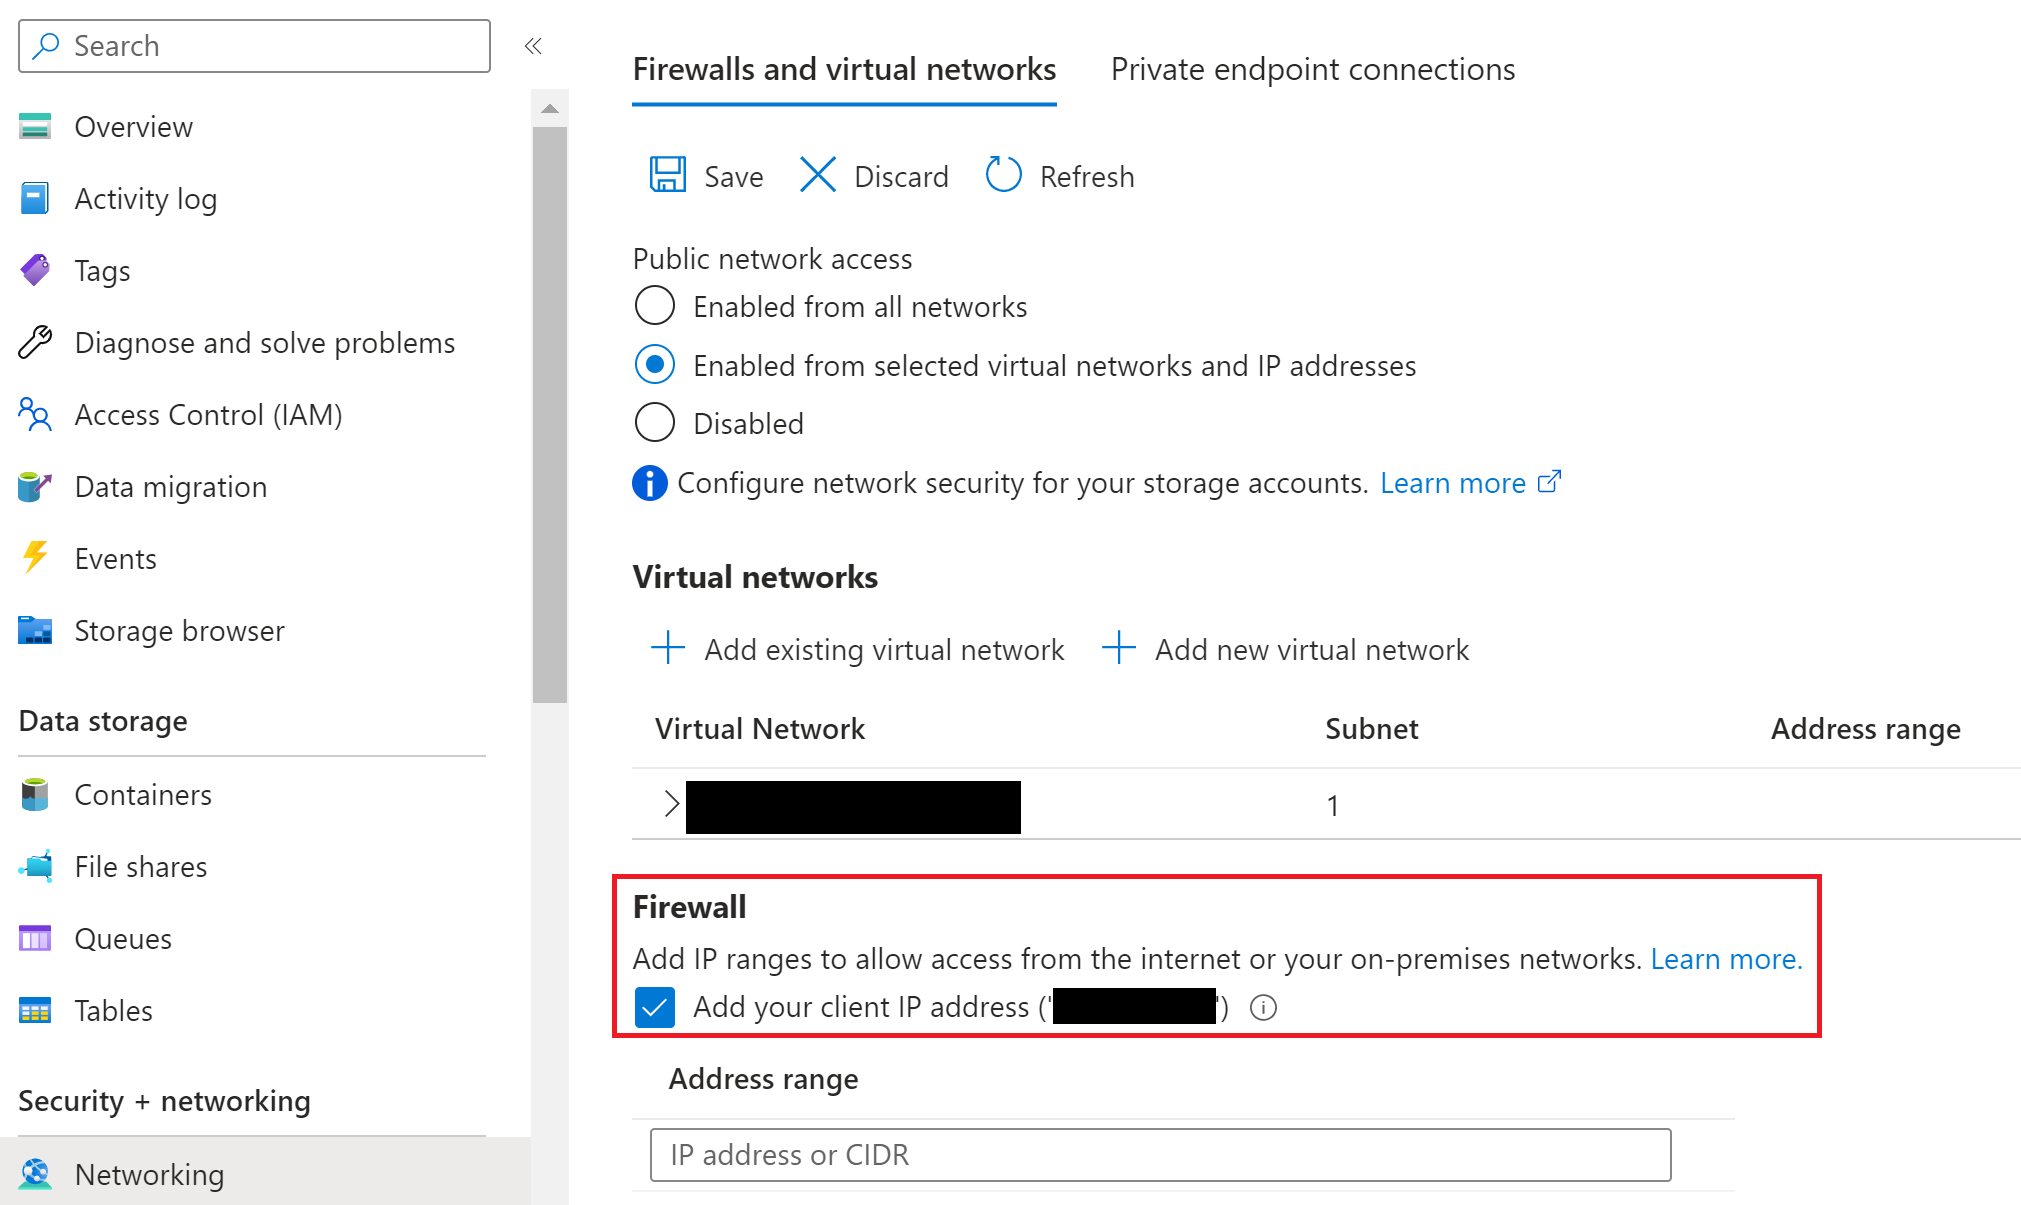
- On each VM, navigate to your production storage account found in your production resource group through the Azure Portal.
- You will need to add your IP address to the firewall to complete this step.
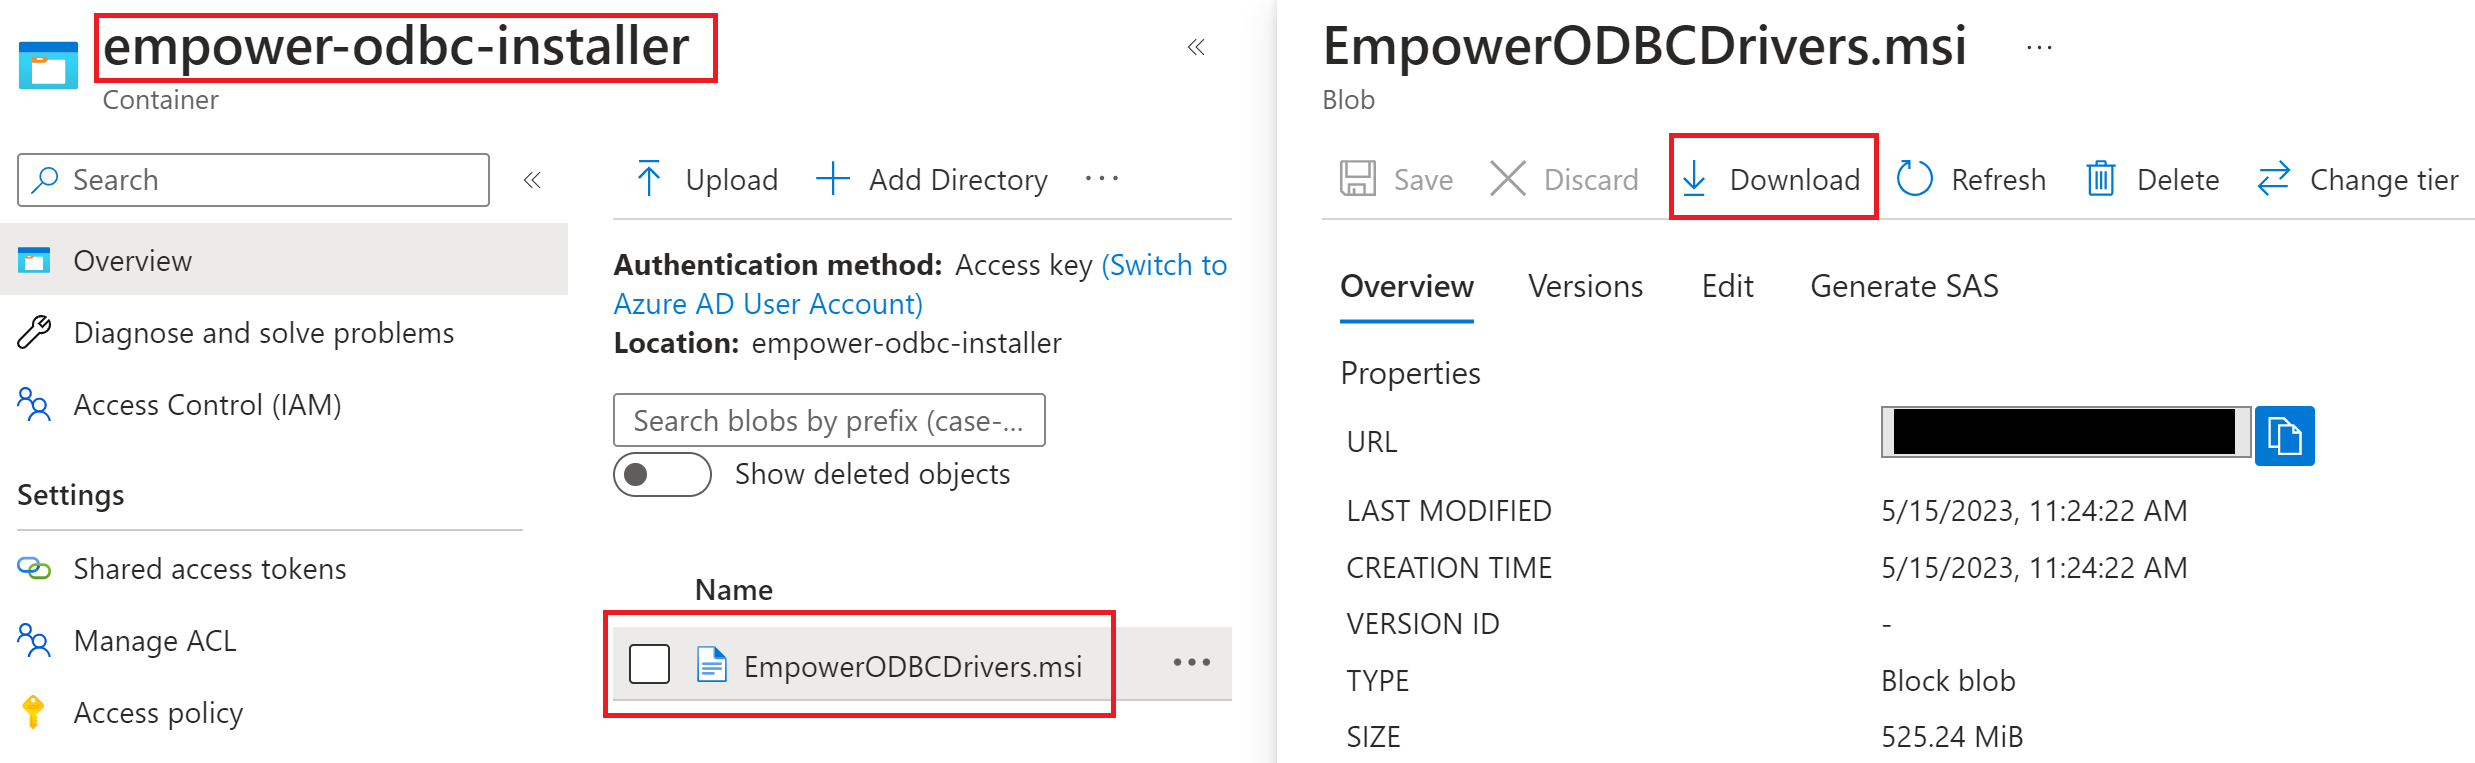
- The navigate to the empower-odbc-installer container. Click the EmpowerODBCDrivers.msi file and download it. Note: This is a Hitachi developed msi. Your browser may warn you about downloading an msi but it is safe to trust.
- Finally, run the installer. There are no options that need to be chosen. Simply click through the installer until finished.
- Repeat for each VM.